Screen Recorder - Record Audio, Capture, Edit
Screen Recorder – Record Audio, Capture is a straightforward, free screen recorder with a built-in audio/video editor. The attractive and intuitive interface enables you to create screencasts with the ease of a professional.

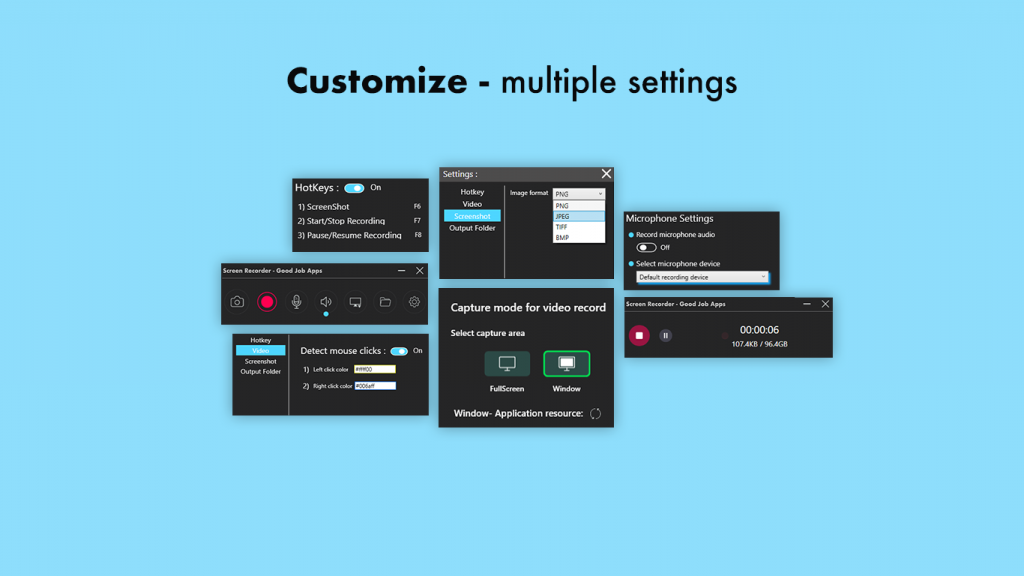
We have all the features you might need
Screen Recorder – Record Audio, Capture, Edit” is a simple and free screen recorder equipped with a built-in audio/video editor. The attractive and intuitive interface allows you to create screencasts with the ease of a professional. While some features in this app are not free, it does not impose any watermarks on your content.
This full-featured yet lightweight free screen recorder is developed by a reputable creator known for producing high-quality applications. It excels in recording Skype conversations without limitations, making it particularly useful for Skype interviews and online conference calls. Additionally, it can isolate and capture various Windows applications as discrete elements. The inclusion of a basic, user-friendly image editor proves surprisingly helpful for achieving a polished look.
Targeting developers and power users, this tool offers almost as many customizable features as some paid screen recording software. However, its abundance of advanced tools and editors may be overwhelming for the average customer.
Unlike many other free competitors, “Screen Recorder – Record Audio, Capture, Edit” comes loaded with features and settings. It allows you to create scenes composed of multiple sources, such as images, texts, window captures, browser windows, webcams, capture cards, and more. Seamless switching between them is facilitated by custom transitions. Although these features might seem like overkill for those seeking a quick and easy screen capture solution, the tool’s flexibility in using animations, video effects, and overlays stands out.
What sets it apart from other screen-capturing software is its unique ability to create and add quizzes and interactivity in videos.
Here’s a step-by-step guide to using the tool:
Step 1:- Open the “Screen Recorder – Record Audio, Capture”
Once on the screen, you’ll discover fantastic video recorder tools that can enhance your recordings. The interface is user-friendly, offering multiple functions utilized by top developers and working professionals.
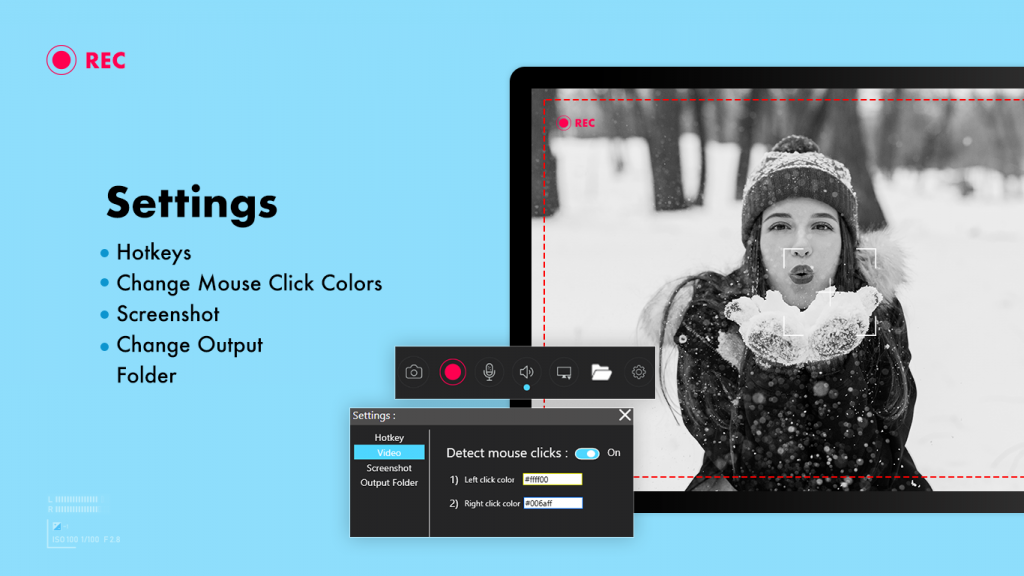
In the screenshot section, you’ll find various options to choose from when taking a screenshot.
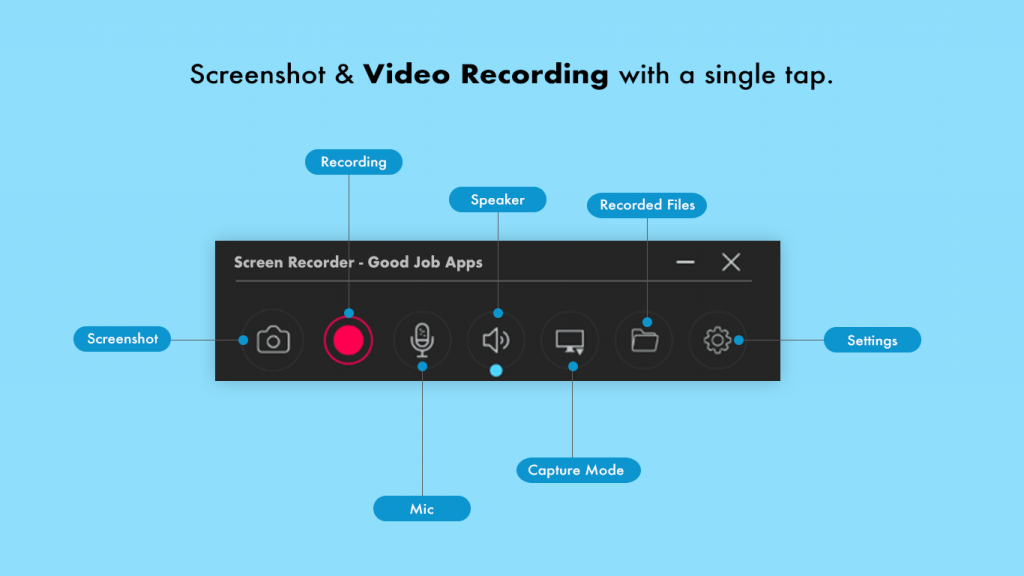
Step 2:- Click on the Red Dot at the Top of the App
Before hitting record, take a moment to explore the multiple functions available. Pay special attention to the tasks related to video sources.
Next, focus on the tasks for Video Sources:
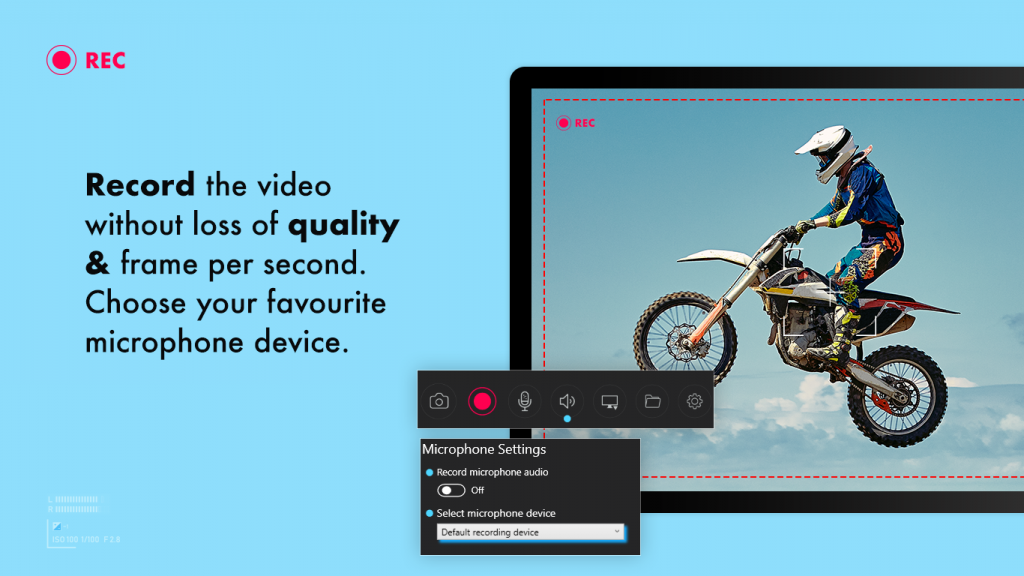
Click on the “Audio Only” button to record the screen with “No Video.” This feature is primarily used for recording audio.
Ensure that you have a clear audio source selected to accompany your recording. This step is crucial for achieving high-quality audio output.
Step 3:- Capture Your Screen with Precision
Utilize the “Around Mouse” function to capture the screen dynamically, following your cursor wherever it goes on the screen. This feature ensures precision in recording.
For specific recording needs, consider the following options:
Use “Webcam Only”: Activate this option to record videos exclusively through your webcam. Ideal for situations where you want to focus solely on a webcam feed.
Click on “Full Screen”: Opt for this setting to allow the screen recorder to capture your entire screen. This is particularly useful when you want to record all activities happening on your display.
Step 4:- Customize Your Capture
Next, explore the options to capture a specific screen or window:
Choose a Region on the Screen: Select this option to record a specific area of your screen. This feature allows you to focus on a particular section for more targeted recordings.
Pause and Stop Recording:
- Click on the Pause button to temporarily halt the recording. This is useful when you need to take a break or make adjustments.
- When your recording is complete, click on the Stop button to finalize the process.
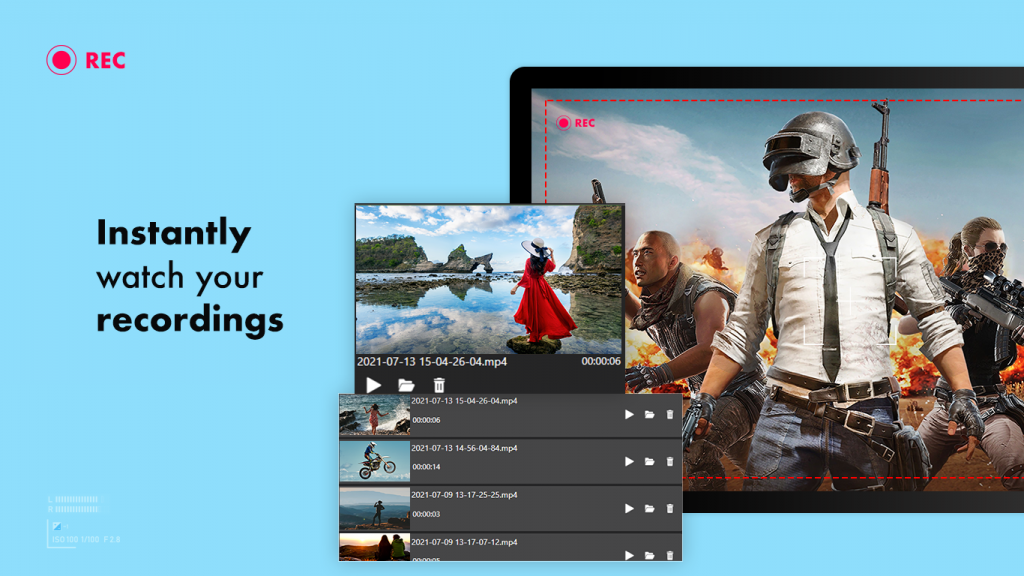
Automatic File Saving:
- Rest assured that your recorded file will automatically be saved in the designated output location. This convenience ensures a seamless recording experience without the need for manual file management.

Step 5:- Customize Recording Settings
Fine-tune your recording experience by adjusting the settings:
Pre-Start Countdown:
- Choose a pre-start countdown duration, from 0 seconds up to your preferred time, allowing you to prepare before recording begins.
Capture Duration:
- Set the capture duration to your desired time, starting from 0 seconds and extending as needed for your recording.
Capture Output File Path:
- Click on “Capture Output file path to clipboard” to conveniently copy the file path. This feature is handy when taking screenshots or recording screens.
Always on Top:
- Click the “Always on top” button to keep the app minimized on top while recording your screen. This ensures easy access and control throughout the recording session.
Theme Customization:
- Switch between Dark and Light themes with a single click, providing a personalized and comfortable visual experience.
Accent Color:
- Choose the accent color that suits your preferences, adding a touch of vibrancy to the interface. Experiment with different colors to customize the look according to your style.
Step 6:- Enhance with Overlays
Take your recording to the next level by incorporating overlays. Follow these steps:
Access Overlay Settings:
- Click on the overlay button to access overlay settings.
Navigate Overlays Screen:
- Once on the Overlays screen, explore various functions for customization.
Key Strokes:
- Adjust settings such as Keymap, Back Color, Padding, Corner Radius, Max Text Length, Timeout, History Count, and History Spacing for keystrokes overlay.
Mouse:
- Customize Mouse overlay settings, including Mouse Pointer Display, Radius, Color, Border, Mouse Click Radius, and Color.
Webcam:
- Fine-tune Webcam overlay settings, such as Opacity and Resize, to seamlessly integrate your webcam feed into the recording.
Experiment with these overlay features to add informative elements and enhance the visual appeal of your screencasts.