Mastering Photoshop demands technical expertise, elevating it to a professional skill that isn’t easily acquired by everyone.
Are you in search of a hassle-free photo editing solution, steering clear of the steep learning curve found in professional software like Photoshop? Look no further – meet our app, ‘Cut Cut – Magic Auto Cut Paste Photo Editor.’ Engineered for quick and easy photo editing, our user-friendly features are not only cutting-edge but also remarkably simple, making photo editing accessible to everyone. Bid farewell to time-consuming training sessions; with ‘Cut Cut,’ achieve professional-looking results in minutes.
Explore a range of options to enhance your projects and bring your creative vision to life. Our innovative creation feature acts as your personal workshop, effortlessly allowing you to edit your dream pictures. Follow these easy steps to see the magic unfold in no time.
Don’t miss the chance to transform your photos effortlessly. Try out ‘Cut Cut – Magic Auto Cut Paste Photo Editor’ today and experience the difference for yourself!
Step 1:-
Open “Cut Cut – Magicut Auto Cut Paste Photo Editor” on your device.
Click on the “Photo Editor” option and choose an image from your device’s gallery.
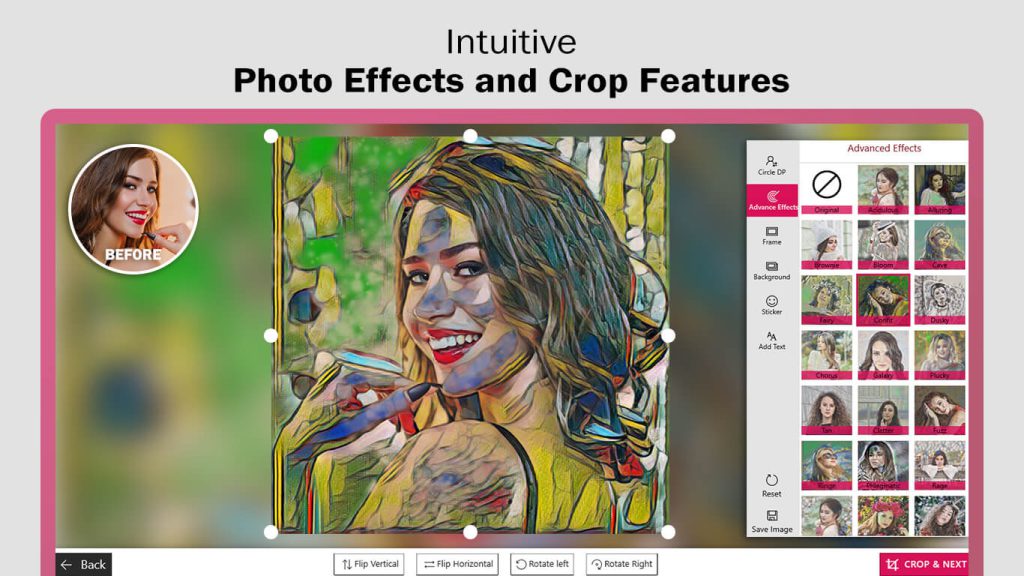
Next, crop your selected image, and you can also flip and rotate it as needed. Click on the “Crop and Next” button to proceed to the next editing feature.
Now, click on the “Advance Effect” button to apply a trendy filter effect and enhance your image creation.
Step 2:-
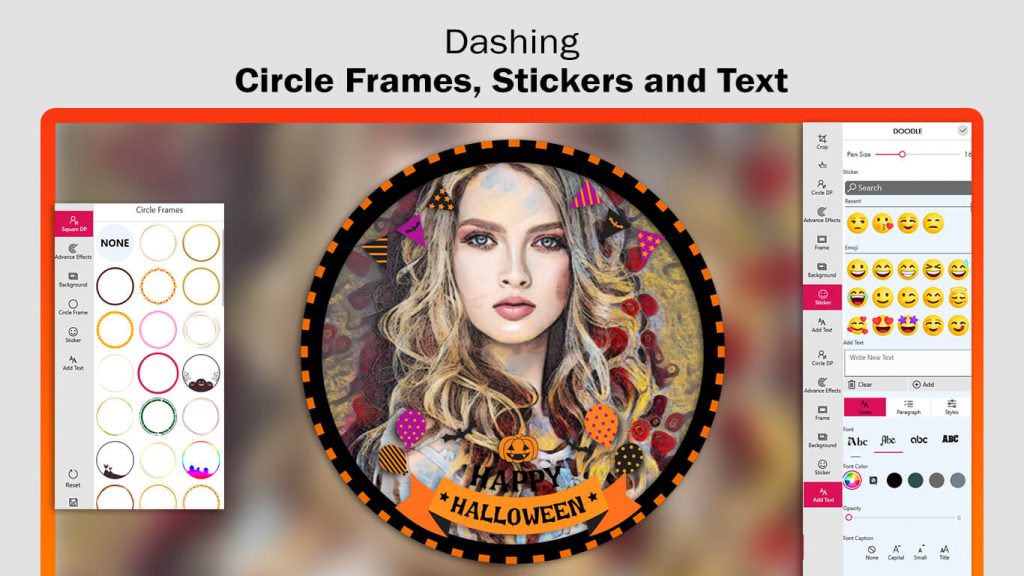
Click on the “Frame” button to apply a trendy frame and enhance your image creation. Additionally, use the “Background” button to apply a background and further enhance your image creation.
Step 3:-
Click on the “Sticker” option to choose any desired sticker from the provided list and apply it to the picture.
Next, click on the “Add Text” option to insert text into your picture. Customize the color and font for your text according to your preferences.
Step 4:-
Click on the “Save Image” icon located in the bottom right corner to save your edited picture.