
Free Slideshow Maker & Video Editor
Poster making is one of the most important forms of art and craft. In the 21st century, there’s no need to worry about doing it on paper; you can simply create digital posters on your electronic devices.

One of the best Slideshow Maker & Video Editor apps to merge photos into a video, creating cherished memories with a collection of photos accompanied by background music, video filters, effects, themes, and more.
All these editing tools and slideshow features are available for free. Choose pictures from the gallery and transform them into a slideshow, adding effects, music, and text to make it worth watching again and again. Set the duration of images while also incorporating texts and emojis into the video.
Play with transition slide effects, add filters, set durations between images, include default or manual audio, insert stickers, and apply extra effects like waves, rotating titles, and more. Introduce blur effects and highlight added text effects in your video.
The app is quickly understandable and easy to use. It offers multiple filters for creating creative and attractive videos. Additional customized effects are also available. You can add default music according to the theme, choose from a wide collection of stickers, and utilize various fonts for text.
Please note: This app contains in-app purchases, meaning certain features require a one-time payment for lifetime access, or you can subscribe to these features on a monthly or yearly basis. Even if you choose not to renew the charges next month or next year, the premium features you’ve purchased will be locked again.
Subscription automatically renews unless auto-renewal is turned off at least 24 hours before the end of the current period. Subscriptions may be managed by the user, and auto-renewal can be turned off by going to the user’s Account Settings after purchase.
Step 1:- Open Free Slideshow Maker & Video Editor on your PC or Laptop.
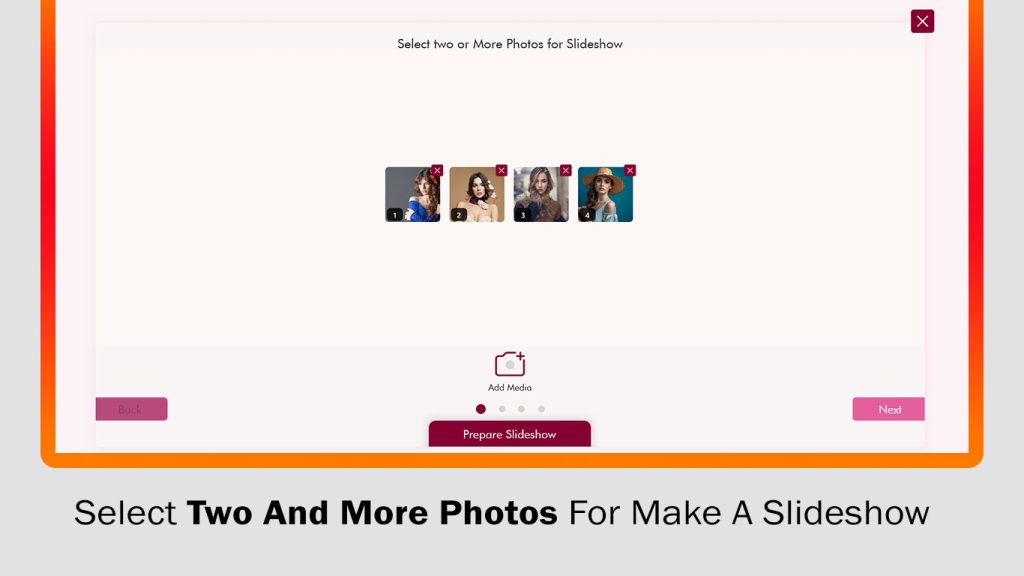
Click on the Slideshow button; it will display the screen below. Now, click on the “Add Photo” button and choose your photos from your gallery.
- Click on the Next button to add music.
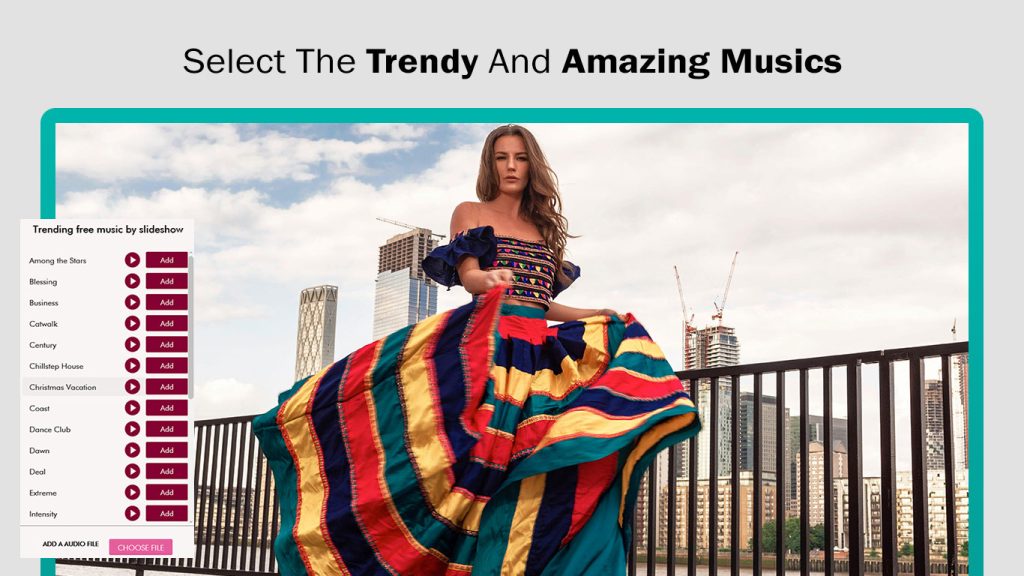
Step 2:- After choosing your photos, click on Next. Following that, click on the “Add Music” button and choose your music; there are plenty of songs to add to your slideshow video.
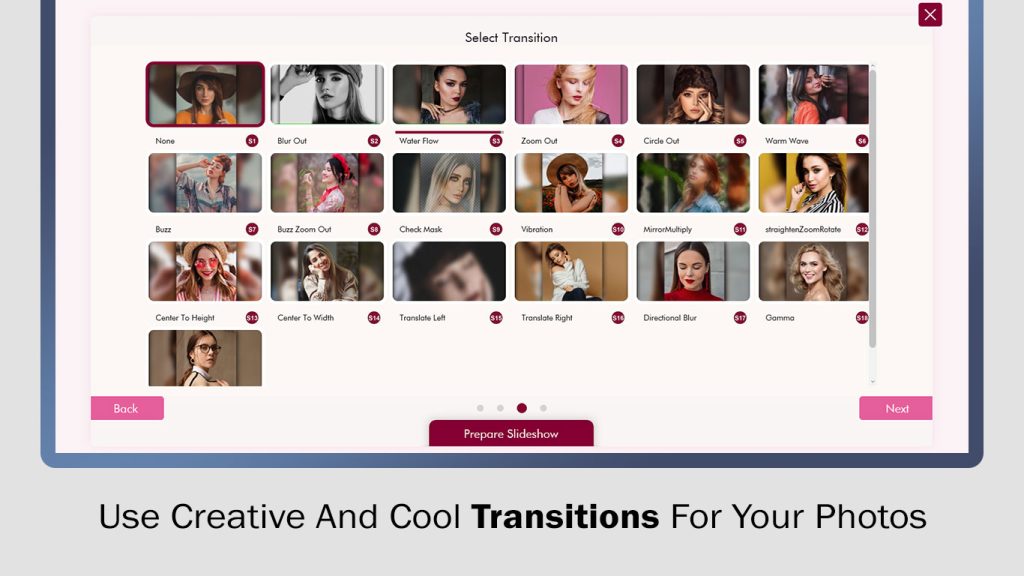
Step 3:- Now, click on the Next button and choose a transition effect for your slideshow. There are plenty of transitions to make your slideshow more attractive.
Step 4:- Click on the Next button and choose your slideshow video aspect ratio and time duration. Here, you’ll find various social media aspect ratios, so select the canvas size accordingly.
After that, when you’re done, click on the Next button. Now you can save your slideshow video. If there’s anything more you want to edit in your slideshow video, you can make those adjustments before saving.
Arrange your slideshow photos according to your preference. Click on the Settings button, where you can set the canvas ratio, choose between fit/fill or select a background, customize transitions, and adjust photo time duration.

Step 5:- Click on the Filters button. There are numerous realistic filter effects available. Choose an effect to apply to your slideshow video.
- Click on the Stickers button to add stickers to your slideshow video. After selecting your stickers, set the position of your stickers.
Now, you can add text to your slideshow video. Click on the Text button, write your text in the text area, click on the “Yes” button, and adjust your text on the video.
Now, click on the Text Color button and choose your text color. Click on the Background button and select the text background color. To enable the shadow on text, click on the Shadow button and apply text shadow. Click on the Opacity button and adjust the opacity of the text. Click on the Alignment button and set the text alignment.
Click on the Text Style button and choose an amazing text style.

- Click on the Save button to save your slideshow video in your media file. After saving your video, you can share it as your story or share it with others.