
Cut-Cut MagiCut Photo Editor
Photoshop involves highly technical and professional tasks, making it challenging for everyone to master its complex features. Investing time in learning how to cut and paste can be quite substantial, and time is often a limited resource for many. We understand the constraints, and that’s why we offer a more accessible solution.

Photoshop is renowned for its technical and professional nature, making it a challenge for everyone to become proficient with its complex features. Learning to cut and paste in Photoshop can be a significant time investment, and we understand the value of time. Fortunately, we have the perfect solution for you – our app, “Cut Cut- Magic Auto Cut Paste Photo Editor.”
Our app provides a quick and user-friendly alternative for photo editing. Our up-and-coming features are not only easy to use but also designed to add magic to your projects effortlessly. Give them a try yourself – take a look below.
We offer numerous options to enhance your creativity in your projects. With our creation feature, you can set up a virtual workshop to edit your dream pictures. Achieving stunning edits is just a few easy steps away. Let’s get started!
Step 1:- Open ‘Cut Cut- Magicut Auto Cut Paste Photo Editor‘ on your device.
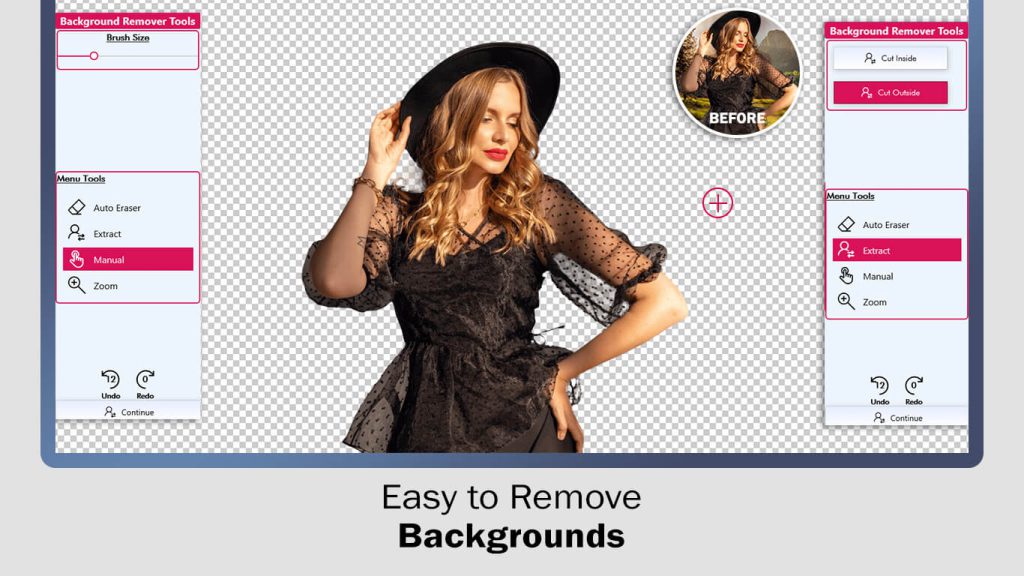
- Click on the ‘Background Remover‘ option. Once you click on the option, the app will prompt you to select your desired picture from your device by clicking on it.
After selecting a photo, click on ‘Auto Eraser‘ and set the threshold. Start erasing the background of your photo or the selected area.
Additionally, you can use the ‘Extract‘ option to cut inside the erased area. You can also use the ‘Extract‘ button to cut outside the erased area.
If you prefer to erase the background manually, click on the Manual Icon and set the brush size. Erase the background manually.
Once the erasing is completed, click on the ‘Continue‘ button to start editing.
Step 2:-
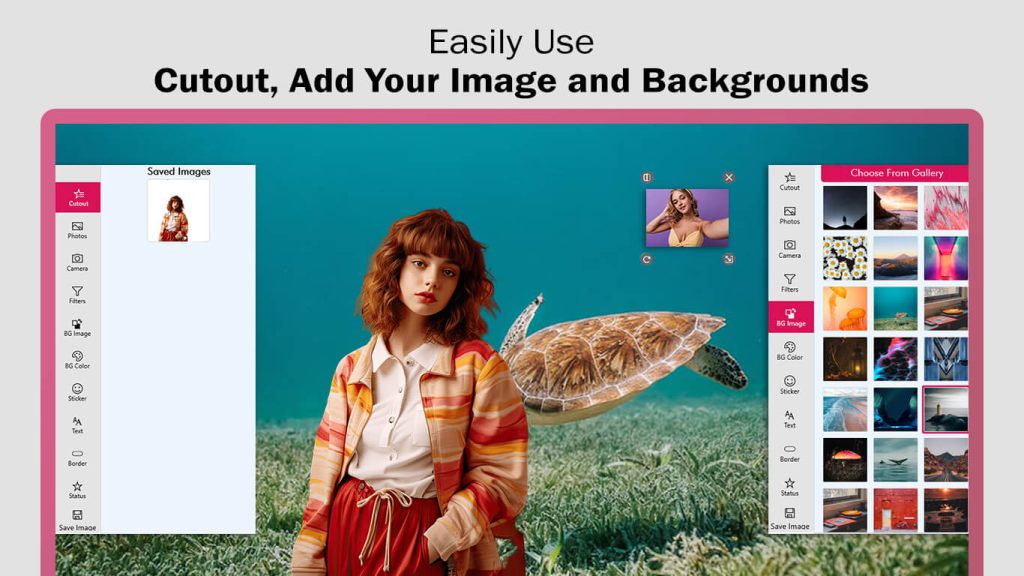
Click on ‘Cutout’ to create a new cutout on your image. If you want to add more images or change the current one, click on ‘Photos’ to select an image from your gallery. Alternatively, click on the ‘Camera’ button to capture new images. Next, click on the ‘BG Image’ icon and choose your favorite background. The application also offers a variety of background images for easy selection.
Step 3:-
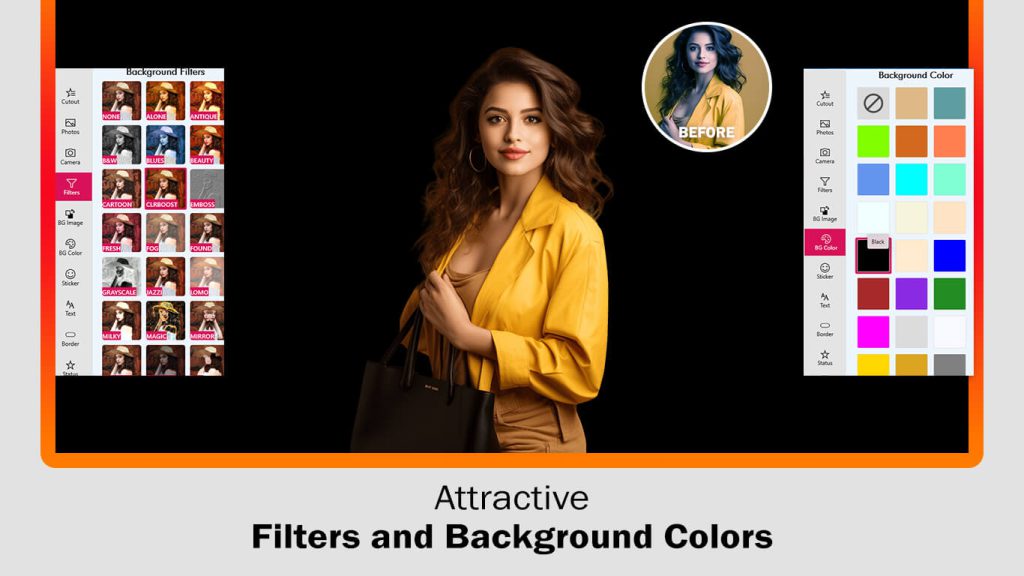
Click on the ‘Filter’ button to apply a trendy filter effect and enhance your image creation. Alternatively, if you prefer using a background color, easily choose from the various colors provided by the Background Eraser Application.
Step 4:-
Use the ‘Stickers’ button to add trendy stickers to your image creation.
Click on the ‘Add Text’ icon to write your text and incorporate it into your image. Access the font style option to change the font style of your text. Click on the background option to set the text background. The Background Eraser Application provides numerous background options for text. Explore the text style settings to modify the text style. You can also adjust font shadow, character spacing, line spacing, text alignment, and caption control.

Step 5:-
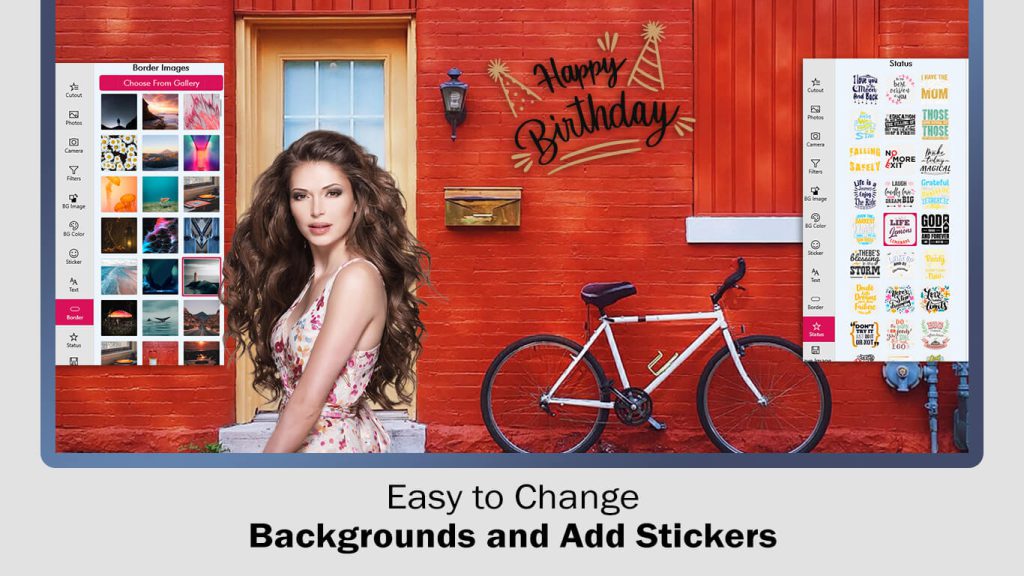
Click on the ‘Border’ icon to add a border to your images. Additionally, you can choose corner borders and set the corner radius for your Background Eraser image creation. You also have the option to add a border image to your creation. Furthermore, you can add a border color to your creation.
Next, click on the ‘Status’ icon to add status-like quotes. The Background Eraser Application also offers a variety of quotes for you to easily choose and apply to your creation.
Step 6:-
Click on the ‘Save Image’ icon located in the bottom right corner to save your picture.